Your lower back aches after three hours at your desk. Your neck feels stiff. Your wrists hurt from typing. Sound familiar? Most remote workers spend 8+ hours sitting every day, and their bodies are paying the price. A properly configured standing desk setup can change everything, but only if you get the details right.
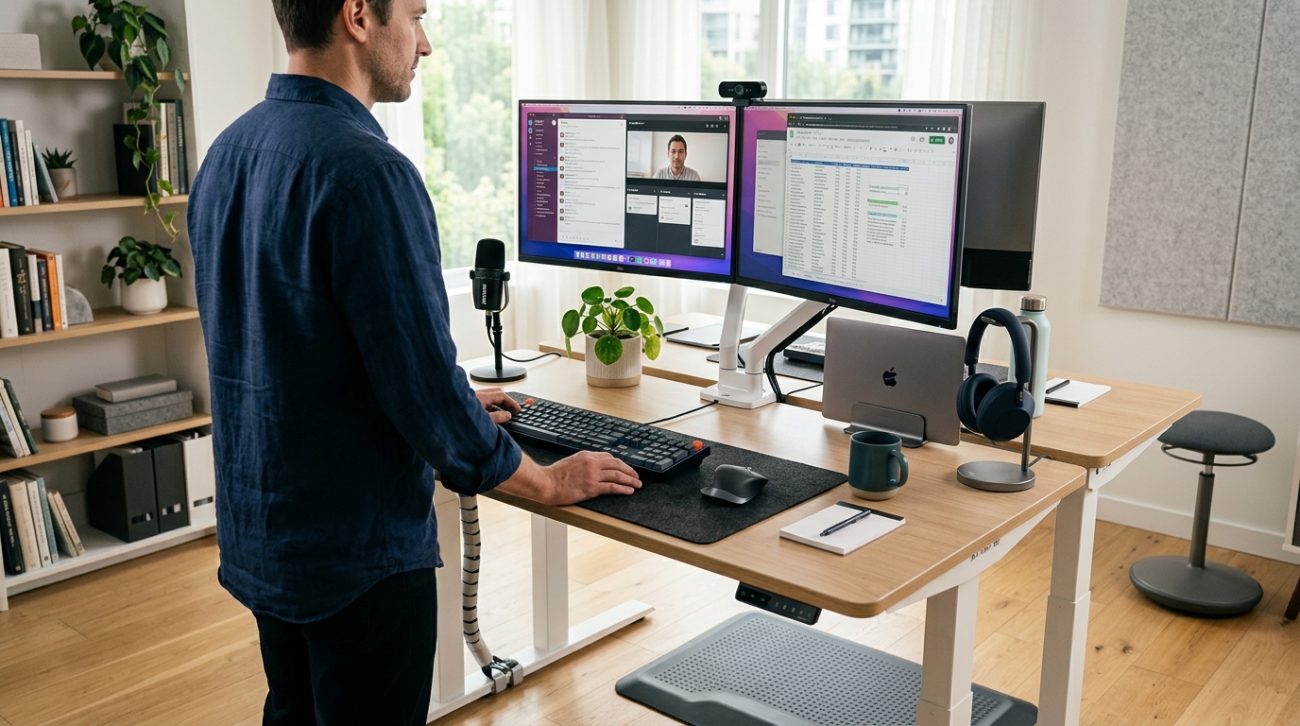
A proper standing desk setup requires more than just a height-adjustable desk. You need the right monitor height, keyboard position, anti-fatigue mat, and gradual transition schedule. Start by standing for 20-30 minutes per hour, position your monitor at arm’s length with the top at eye level, and invest in supportive footwear. Most people make critical mistakes with desk height and monitor placement that cause more pain than sitting.
Choosing the Right Standing Desk Frame
The foundation of your setup starts with the desk itself. You have three main options: electric, manual crank, or desktop converters.
Electric desks cost more upfront but make transitions effortless. You press a button and the desk moves. This matters because you’ll adjust height multiple times per day. Manual crank desks save money but create friction. Most people stop using them after a few weeks because cranking feels like work.
Desktop converters sit on your existing desk. They’re cheaper and portable. But they offer less stability and smaller work surfaces. If you’re typing hard or using multiple monitors, the wobble gets annoying fast.
For most remote workers, an electric dual-motor desk with memory presets delivers the best experience. Look for models that support at least 200 pounds and adjust between 25-50 inches in height. This range accommodates people from 5’0″ to 6’5″.
Setting Up Your Monitor at the Correct Height
Monitor placement causes more neck pain than any other setup mistake. Here’s the rule: the top of your screen should sit at or slightly below eye level when you’re standing naturally.
When you look straight ahead, your eyes should hit the top third of the display. This keeps your neck in a neutral position. Too high and you tilt your head back. Too low and you hunch forward.
For a single monitor, use an adjustable arm mount. This lets you change height independently from your desk. When you switch between sitting and standing, you can reposition the screen in seconds.
Multiple monitor users need to think about angles. Your primary screen goes directly in front of you. Secondary displays angle 30-35 degrees to the side. Any wider and you’ll strain your neck turning to look.
Distance matters too. Sit (or stand) an arm’s length away from your screen. Extend your arm fully. Your fingertips should nearly touch the display. This reduces eye strain and keeps you from leaning forward.
Getting Your Keyboard and Mouse Position Right
Your keyboard should sit at elbow height when your arms hang naturally at your sides. Bend your elbows 90 degrees. That’s where your keyboard lives.
Many people set their desk height based on their monitor, then realize their shoulders are hunched up to reach the keyboard. This creates tension in your neck and upper back within an hour.
A keyboard tray solves this problem. Mount it below your desk surface. This drops the typing surface 3-4 inches and lets you keep your shoulders relaxed while your monitor stays at eye level.
Your mouse needs to sit at the same height as your keyboard. Reaching up or down to use it strains your shoulder. Keep both input devices on the same plane.
Consider a split ergonomic keyboard. These position your hands at shoulder width and reduce wrist pronation. The learning curve lasts about three days. After that, most people type faster with less hand fatigue.
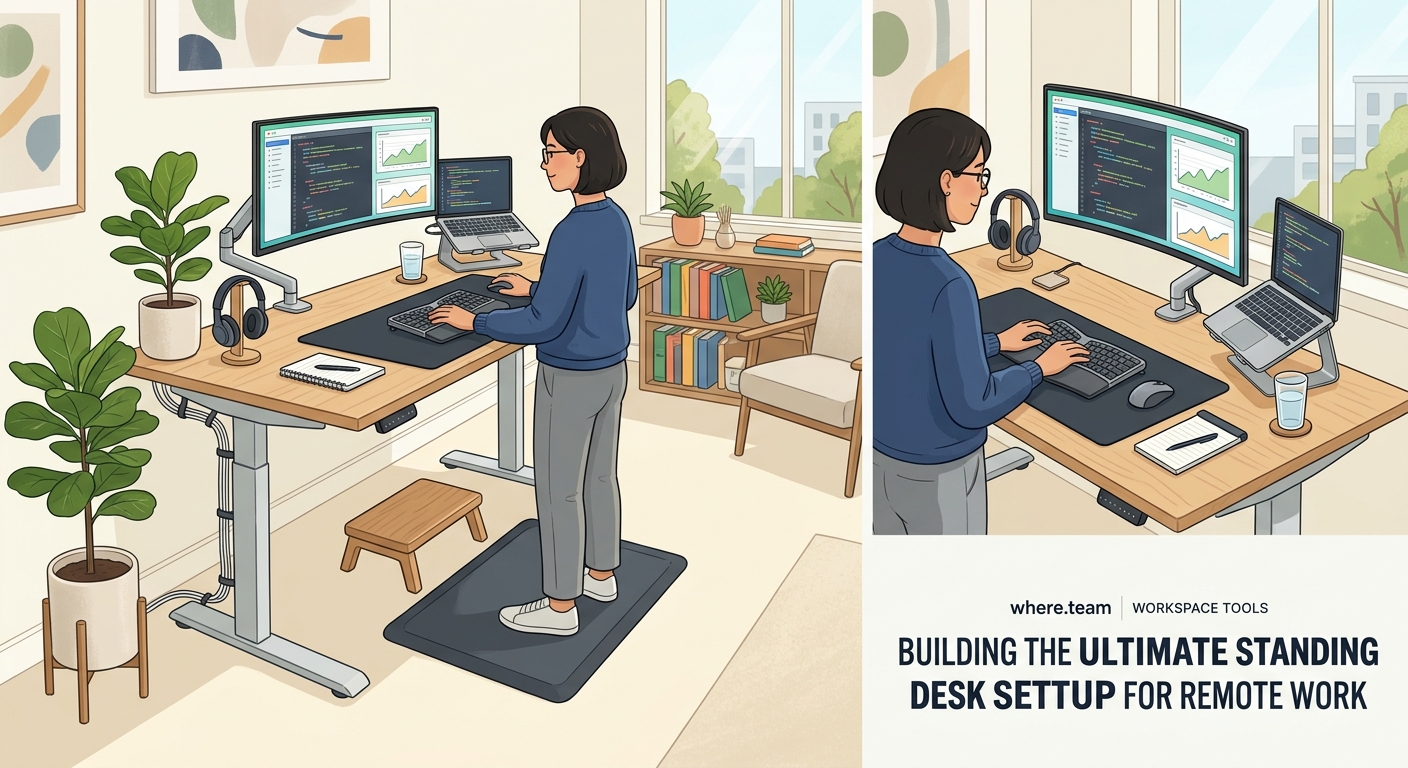
Building Your Standing Desk Setup in 5 Steps
Here’s the exact process to configure everything correctly:
- Set your desk to elbow height with your arms hanging naturally and elbows bent 90 degrees
- Position your keyboard and mouse so your wrists stay straight while typing
- Mount your monitor so the top sits at eye level when you look straight ahead
- Place your monitor an arm’s length away from your standing position
- Test the setup by standing for 10 minutes and checking for shoulder, neck, or wrist tension
Adjust anything that feels off immediately. Small misalignments compound over hours. What feels slightly awkward at minute 10 becomes painful by minute 60.
Essential Accessories That Actually Matter
You need four accessories to make standing sustainable:
Anti-fatigue mat: Your feet will hurt standing on hard floors. A quality mat with 3/4-inch thickness cushions your joints. Look for beveled edges so you don’t trip. Place it where you stand most often.
Footrest or balance board: Shifting your weight keeps blood flowing. A small footrest lets you elevate one foot at a time. Balance boards engage your core and prevent static standing.
Cable management: Cables that move up and down with your desk need slack. Use a cable spine or tray mounted to the underside of your desk. This prevents yanking cords out when you adjust height.
Desk pad: A large mouse pad protects your desk surface and provides a smooth surface for both keyboard and mouse. Get one big enough to cover your entire work area.
Skip the treadmill desks. They sound appealing but make video calls impossible and reduce typing accuracy. Save walking for breaks.
Common Standing Desk Mistakes and How to Avoid Them
| Mistake | Why It Happens | The Fix |
|---|---|---|
| Standing all day immediately | Enthusiasm and impatience | Start with 20-30 minutes per hour for week one |
| Desk too high or too low | Guessing instead of measuring | Use the 90-degree elbow test every time |
| Monitor tilted up | Trying to see the screen better | Raise the entire monitor, never tilt it |
| Wearing flat, unsupportive shoes | Treating standing like sitting | Invest in shoes with arch support or stand barefoot on a quality mat |
| Locking knees while standing | Unconscious habit | Keep a slight bend in your knees and shift weight regularly |
| No sitting breaks | Misunderstanding the goal | Alternate positions every 30-60 minutes |
The biggest mistake is thinking standing fixes everything. It doesn’t. Static standing creates its own problems. The goal is movement and position variety.
Creating Your Transition Schedule
Your body needs time to adapt. Jumping from 8 hours sitting to 8 hours standing causes foot pain, leg fatigue, and lower back soreness.
Start with this progression:
Week 1: Stand 20 minutes, sit 40 minutes. Repeat throughout the day.
Week 2: Stand 30 minutes, sit 30 minutes.
Week 3: Stand 40 minutes, sit 20 minutes.
Week 4+: Stand 50 minutes, sit 10 minutes, or find your personal sweet spot.
Some people feel best at 50/50. Others prefer 70/30 in favor of standing. Listen to your body. If your feet hurt or your back aches, sit down. Pushing through pain doesn’t build toughness. It causes injury.
Set timers on your phone or use an app that reminds you to switch positions. After a month, the rhythm becomes automatic.
“The best position is the next position. Whether you’re sitting or standing, staying static for hours creates problems. Movement is the real solution.” — Dr. Alan Hedge, Cornell University ergonomics professor
Optimizing Your Setup for Video Calls
Remote work means video calls. Your standing desk setup needs to work on camera.
Position your webcam at eye level. If it’s built into your laptop, you’ll need a laptop stand. The camera should point straight at your face, not up your nose or down at the top of your head.
Test your background while standing. What looks fine while sitting might show a weird angle of your ceiling or a messy shelf when you stand. Adjust your desk position or background accordingly.
Lighting changes when you stand. Your face might fall into shadow if your desk lamp stays in the same spot. Add a small LED panel or ring light that moves with your height adjustments.
Consider a standing mat in a solid, professional color. Bright patterns or logos look distracting on camera. Stick with black, gray, or navy.
If you experience fatigue during long video meetings, why your remote meetings feel exhausting and how to fix zoom fatigue offers strategies that pair well with your ergonomic setup.
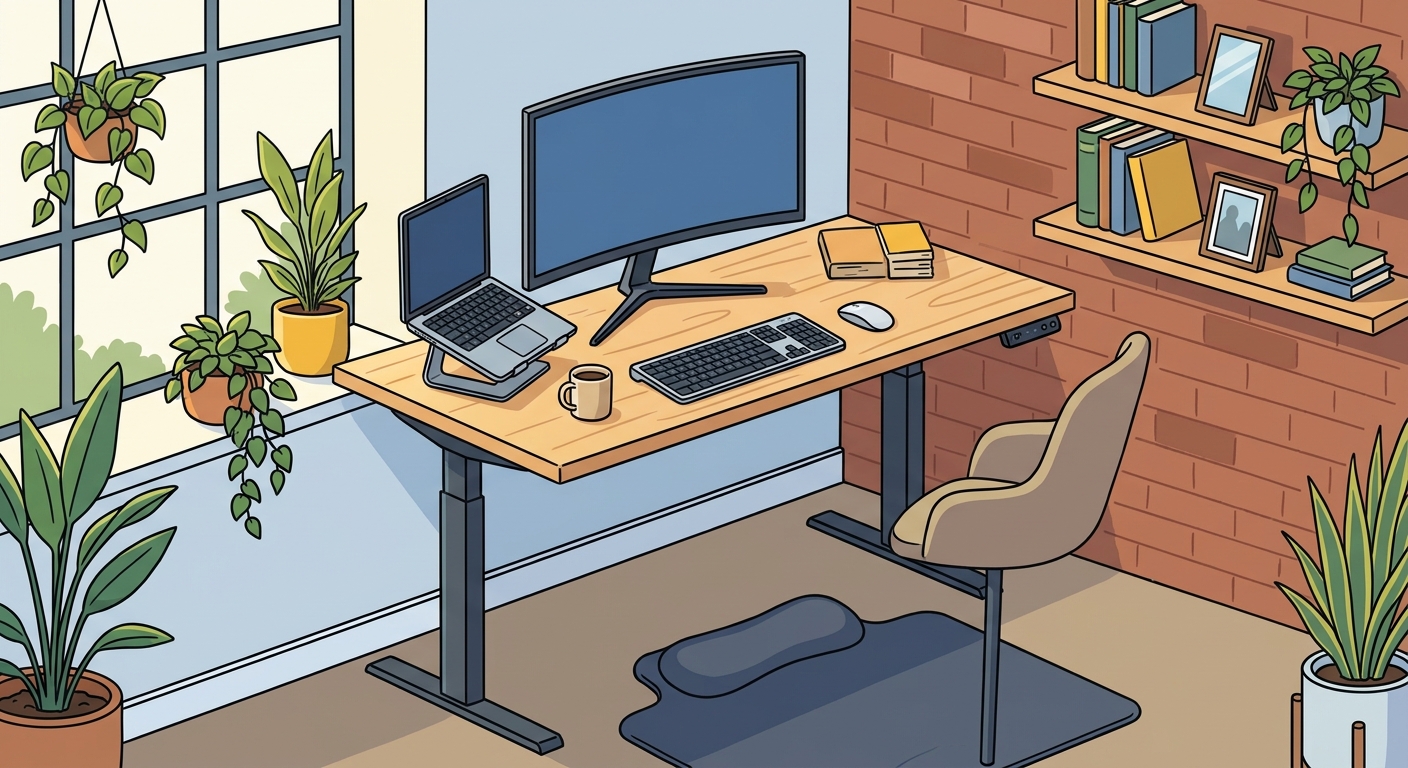
Integrating Your Standing Desk Into Your Broader Home Office
Your standing desk doesn’t exist in isolation. It’s part of your complete workspace strategy.
Think about the flow of your day. Where do you take phone calls? Where do you read documents? Where do you brainstorm? Not every task requires standing at your computer.
Create zones in your home office. Your standing desk handles computer work. A comfortable chair in the corner works for reading. A small side table holds your coffee and notebook for calls.
This variety keeps you moving throughout the day. You’re not glued to one position. Different tasks happen in different postures and locations.
If you’re building out your entire workspace from scratch, the ultimate guide to building a home office that actually boosts productivity covers lighting, acoustics, and layout decisions that complement your standing desk investment.
For remote workers who split time between home and coworking spaces, maintaining ergonomic consistency matters. Day passes vs monthly memberships for coworking spaces can help you find spaces with adjustable desks that match your home setup.
Tracking Your Progress and Adjusting Over Time
Your needs will change. Monitor your body’s feedback and adjust accordingly.
Keep a simple log for your first month. Note:
- How long you stood each day
- Any pain or discomfort and where
- Energy levels at different times
- Productivity during standing vs sitting periods
Patterns emerge quickly. You might notice you focus better standing in the morning but prefer sitting after lunch. Or that standing during calls feels natural but sitting works better for deep writing.
Use this data to customize your schedule. There’s no universal perfect ratio. Your ideal setup depends on your body, your tasks, and your preferences.
Reassess every few months. As your standing stamina builds, you might increase standing time. Or you might find a comfortable equilibrium and stick with it.
Maintaining Your Equipment for Long-Term Use
Standing desks have moving parts. They need occasional maintenance.
Lubricate the lifting columns once a year. Use silicone spray on the metal shafts. This keeps movement smooth and prevents grinding noises.
Check the stability of your monitor arms every few months. Screws loosen over time from constant adjustment. Tighten any that feel loose.
Replace your anti-fatigue mat when it compresses and loses cushioning. Most quality mats last 2-3 years with daily use. When you can feel the hard floor through the mat, it’s done.
Clean your desk frame and controls monthly. Dust and debris can interfere with electronic controls. A damp cloth takes 30 seconds and prevents expensive repairs.
Making It Work for Your Body and Budget
Not everyone can afford a $1,200 electric desk. That’s fine. You can build an effective setup at multiple price points.
Budget option ($200-400): Manual crank desk or desktop converter, monitor riser made from books or boxes, keyboard tray, basic anti-fatigue mat. This works. It’s less convenient but delivers the core ergonomic benefits.
Mid-range option ($500-800): Single-motor electric desk, adjustable monitor arm, ergonomic keyboard, quality anti-fatigue mat. This hits the sweet spot for most remote workers.
Premium option ($1,000+): Dual-motor electric desk with memory presets, dual monitor arms, split keyboard, balance board, cable management system. Worth it if you spend 40+ hours per week at your desk.
Start with the basics and upgrade over time. Your monitor arm matters more than memory presets. Your anti-fatigue mat impacts comfort more than a fancy desk frame.
Your Standing Desk Setup Starts Today
You don’t need to wait for the perfect desk or the complete accessory list. Start with what you have.
If you own a standing desk, set it to the correct height right now using the elbow test. If you don’t, stack books under your monitor and keyboard to approximate standing height. Try it for 20 minutes today.
Pay attention to how your body feels. Notice what hurts and what helps. Adjust one thing at a time. Small improvements compound into major comfort gains over weeks.
Your workspace should support your body, not fight it. A proper standing desk setup reduces pain, increases energy, and makes remote work sustainable for the long term. The investment pays dividends in how you feel at the end of every workday.