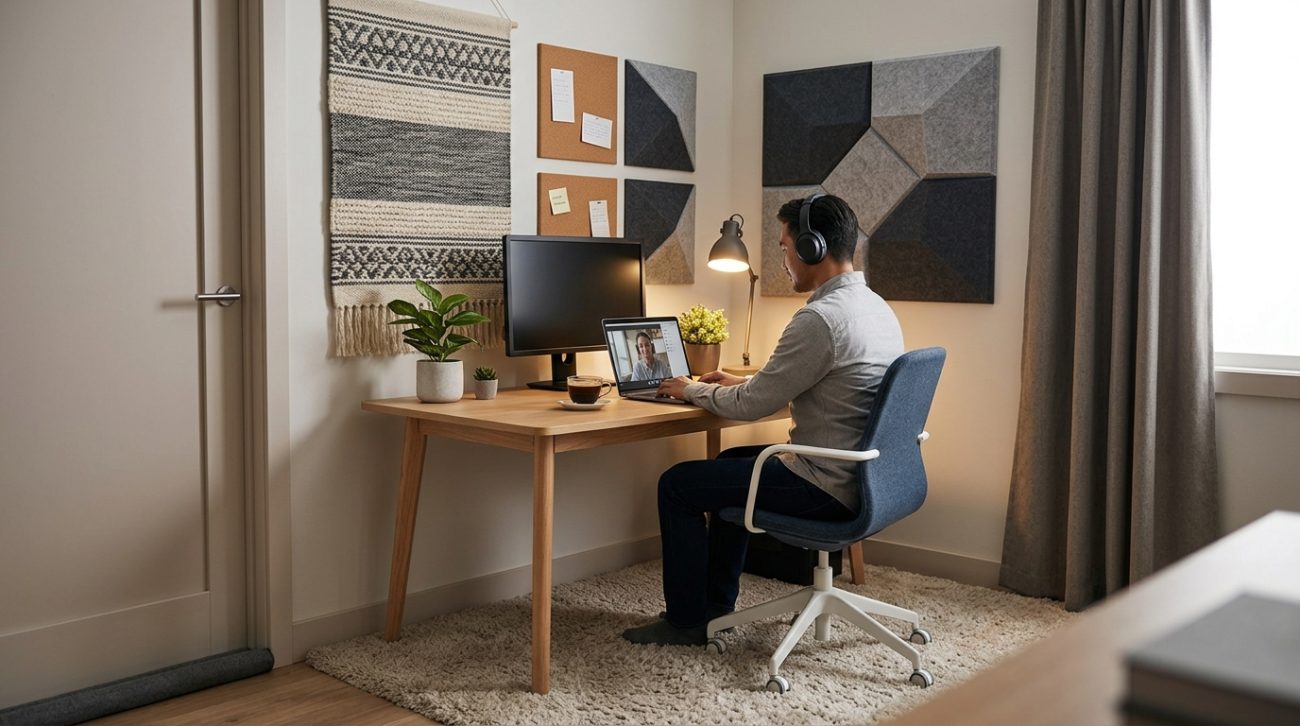
Your neighbor’s dog won’t stop barking. The kids are home from school. Traffic noise bleeds through your windows during every client call. You need a quieter workspace, but professional soundproofing costs thousands of dollars you don’t have.
Good news: you can dramatically reduce noise in your home office for less than $200 using simple DIY methods that require zero construction skills.
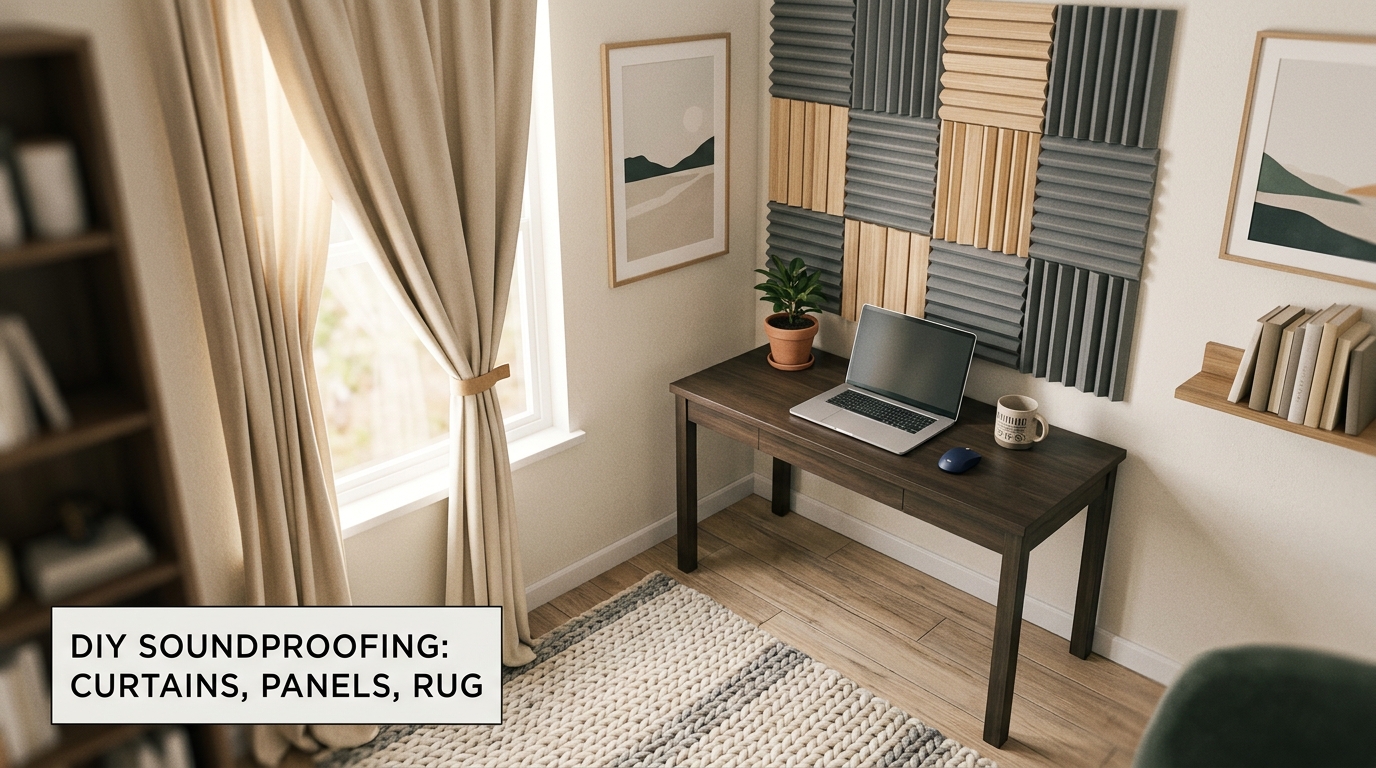
Effective soundproofing doesn’t require expensive renovations. By combining weatherstripping, acoustic panels, door sweeps, and strategic furniture placement, remote workers can reduce noise by 40-60% for under $200. Focus on sealing gaps first, then add sound-absorbing materials. Most solutions install in under two hours with basic tools you already own.
Understanding Why Your Home Office Is So Loud
Sound travels through two main pathways: gaps and hard surfaces.
Gaps under doors, around windows, and through electrical outlets let noise flow freely. Hard surfaces like bare walls, windows, and wood floors reflect sound waves instead of absorbing them.
Professional soundproofing tackles both problems with expensive materials like mass-loaded vinyl, double-pane windows, and insulated drywall. That’s overkill for most home offices.
You just need to reduce noise enough to sound professional on calls and maintain focus during deep work. That’s achievable with budget materials from hardware stores.
The Five Cheapest Ways to Block Outside Noise
Here’s how to soundproof home office cheap, ranked by effectiveness per dollar spent.
1. Seal Every Gap Around Your Door
Air gaps are noise highways. A quarter-inch gap under your door lets in as much sound as a small open window.
Buy a door sweep for $15 at any hardware store. These attach to the bottom of your door with adhesive or screws. Installation takes five minutes.
Add weatherstripping tape around the door frame for another $8. Press it into place along the sides and top where the door meets the frame.
Total cost: $23
Noise reduction: 15-20%
Time required: 15 minutes
2. Hang Heavy Curtains Over Windows
Windows are terrible sound barriers. Standard single-pane glass does almost nothing to block noise.
Thick, layered curtains absorb sound waves before they bounce around your room. Look for curtains labeled “thermal” or “blackout” because they use dense, multi-layer fabric.
You can find acceptable options for $30-50 per window at discount stores. Hang them as close to the wall as possible, extending several inches beyond the window frame on all sides.
For extra blocking power, layer two sets of curtains. Hang sheer curtains closest to the window, then heavy curtains on the outer rod.
Total cost: $40-60
Noise reduction: 10-15%
Time required: 20 minutes per window
3. Install Acoustic Foam Panels on Walls
Acoustic foam absorbs sound reflections inside your room. This won’t block noise from entering, but it prevents echo and makes your space feel quieter.
These panels also improve your audio quality on video calls, which matters if you’re dealing with why your remote meetings feel exhausting and need every advantage.
Buy 12-pack sets of 12×12 inch foam tiles for $25-35. Focus placement on the wall behind your desk and the wall you face during calls.
Don’t cover entire walls. Strategic placement of 8-12 panels works better than random coverage.
Attach them with removable adhesive strips to avoid damaging walls. Command strips work perfectly.
Total cost: $30-40
Noise reduction: 8-12% (mostly internal echo)
Time required: 30 minutes
4. Add a Door Sweep and Soundproofing Blanket
If your office door is hollow core (most interior doors are), it transmits sound easily.
Hanging a thick moving blanket on the back of your door adds mass and absorption. Moving blankets cost $15-20 and can be attached with small nails or adhesive hooks.
This looks terrible but works surprisingly well. If aesthetics matter, buy a quilted sound blanket designed for studios instead. These run $40-60 but look more intentional.
Total cost: $15-60
Noise reduction: 10-15%
Time required: 10 minutes
5. Use Rugs and Soft Furnishings
Hard floors reflect sound. Carpet or thick rugs absorb it.
If you have hardwood, tile, or laminate flooring, add the largest area rug your budget allows. Discount stores sell 5×7 rugs for $40-80.
Layer a rug pad underneath for extra thickness. This adds another absorption layer for $15-25.
Bonus: add soft items like throw pillows, upholstered chairs, or fabric wall hangings. Every soft surface helps.
Total cost: $55-105
Noise reduction: 5-10%
Time required: 15 minutes
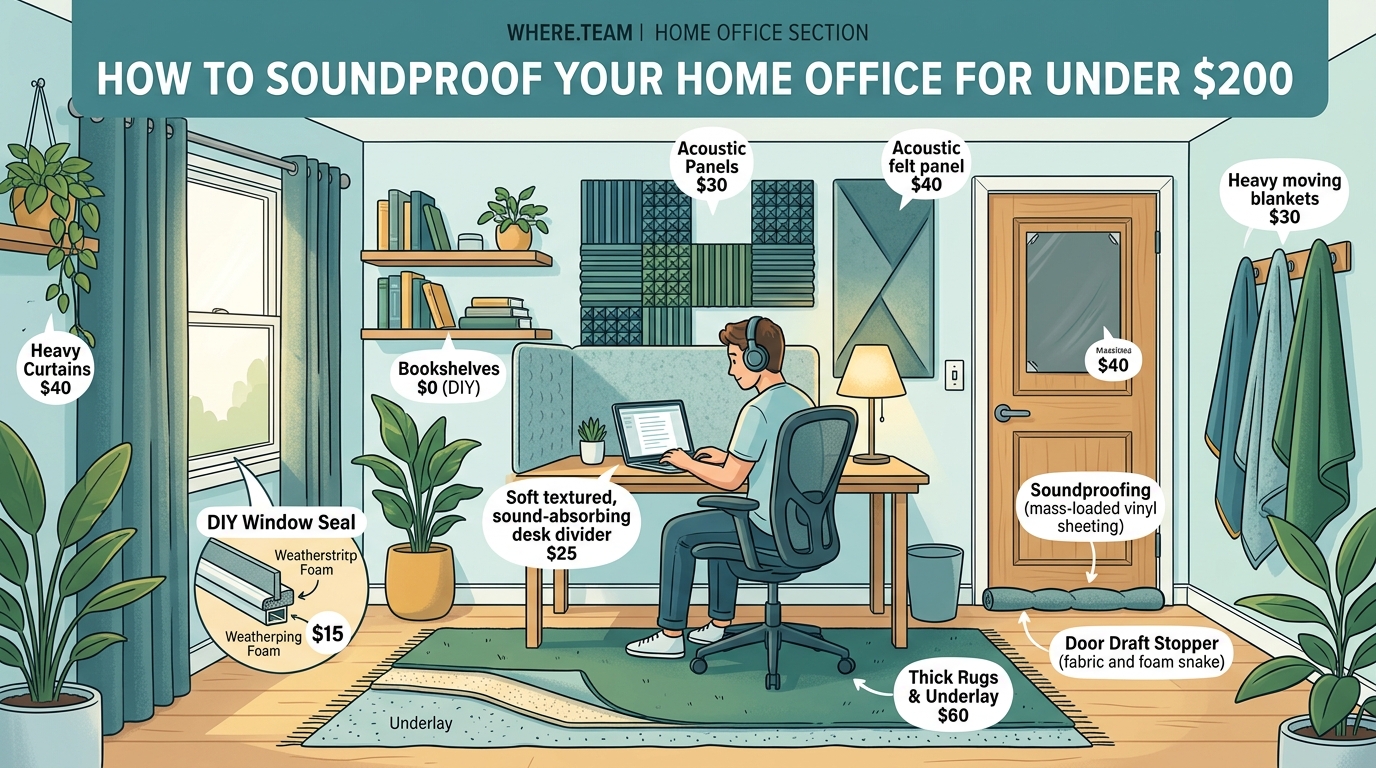
Your Complete Under-$200 Soundproofing Shopping List
| Item | Estimated Cost | Primary Benefit |
|---|---|---|
| Door sweep | $15 | Blocks gap noise |
| Weatherstripping tape | $8 | Seals door frame |
| Heavy curtains (1 window) | $45 | Absorbs window noise |
| Acoustic foam panels (12-pack) | $30 | Reduces echo |
| Moving blanket for door | $18 | Adds door mass |
| Area rug (5×7) | $60 | Absorbs floor reflections |
| Rug pad | $20 | Extra absorption layer |
| Total | $196 | 40-60% noise reduction |
Step-by-Step Installation Guide
Follow this order for maximum impact with minimum effort.
-
Clean all surfaces where you’ll apply adhesive materials. Dust and oils prevent good adhesion.
-
Install the door sweep first. Measure your door width, cut the sweep if needed, and attach according to package directions.
-
Apply weatherstripping around the door frame. Start at the top, then do the sides. Press firmly for 30 seconds at corners.
-
Hang your curtains next. Mount the rod 4-6 inches above the window frame and extend it several inches on each side.
-
Place your rug and pad. Center it under your desk area where you spend most of your time.
-
Attach acoustic panels to walls. Start behind your monitor, then add panels to the wall opposite your desk.
-
Hang the door blanket last. Use hooks at the top corners and let it drape naturally.
Test after each step by playing music outside your door at normal conversation volume. You’ll hear the difference as you add each layer.
Common Mistakes That Waste Money
Avoid these errors that drain your budget without reducing noise.
Buying thin foam tiles: Those 1-inch decorative foam shapes sold as “soundproofing” do almost nothing. Look for panels at least 2 inches thick with a density rating above 1.5 pounds per cubic foot.
Ignoring door gaps: You can spend $150 on wall treatments and still hear everything if air flows under your door. Seal gaps first, always.
Covering windows with cardboard or foam: This blocks light and looks awful while barely reducing noise. Heavy fabric works better and looks intentional.
Expecting total silence: Budget soundproofing reduces noise, it doesn’t eliminate it. Aim for “comfortable enough to focus” rather than “recording studio quiet.”
Forgetting about outlet covers: Electrical outlets are often just hollow boxes connecting to wall cavities. Foam outlet insulators cost $5 for a 12-pack and block this noise path.
How to Test Your Results
Measure your progress with a free sound meter app on your phone.
Before starting, record the decibel level in your office during typical noisy periods. Note the number.
After each improvement, measure again under similar conditions. You should see a 3-5 decibel drop with each major addition.
A 10-decibel reduction means noise sounds roughly half as loud to your ears. That’s the target for a $200 budget.
“Most people don’t need professional soundproofing. They need to reduce noise by 40-50%, which makes the difference between distracted and focused. That’s absolutely achievable with DIY methods and basic materials.” — Acoustic consultant Sarah Chen
Advanced Tricks for Stubborn Noise Problems
If you’ve done everything above and still struggle with specific noise sources, try these targeted solutions.
For traffic noise: Build a window plug using rigid foam insulation board cut to fit your window frame exactly. Cover it with fabric and press it into the window opening when you need maximum quiet. Cost: $15 per window.
For neighbor noise through shared walls: Move your desk away from the shared wall. Add a bookshelf filled with books against that wall. The mass helps, and distance matters more than you’d think.
For HVAC noise: Wrap accessible ductwork in your office with foam pipe insulation. This costs $8 per 6-foot length and reduces metallic echo from air flowing through ducts.
For hallway noise: Add a second layer of weatherstripping to your door. Stack a second door sweep above the first if you have a large gap. Redundancy works.
When to Consider Professional Help Instead
Some noise problems exceed DIY solutions.
If you live on a busy street with constant traffic, share a wall with a home theater, or work night shifts while your family is active during the day, $200 in materials won’t solve your problem.
Consider renting a coworking space with dedicated quiet areas for important calls and focused work. Day passes run $20-40 in most cities, which might be more cost-effective than extensive home modifications.
Alternatively, invest in quality noise-canceling headphones for $200-300. These won’t help with calls where you need a microphone, but they’re perfect for focused work sessions.
Combining Soundproofing With Other Productivity Upgrades
Noise reduction is just one part of an effective home office setup.
Once you’ve tackled sound, consider other improvements that boost your work quality. Building a home office that actually boosts productivity means addressing lighting, ergonomics, and organization too.
If you’re spending money on your workspace anyway, check whether common ergonomic mistakes are causing you pain or fatigue. A $30 laptop stand prevents neck strain and costs less than a single physical therapy session.
Your office should support both your physical comfort and your ability to concentrate. Treat soundproofing as the foundation, not the complete solution.
What to Do If You’re Renting
Renters face extra constraints because permanent modifications risk losing your deposit.
Everything in this guide uses removable installation methods. Weatherstripping peels off cleanly. Acoustic panels attach with removable adhesive. Curtains hang on standard rods. Rugs lift up when you move.
Take photos before installation so you can restore everything to original condition.
If your lease prohibits any modifications, focus on furniture-based solutions. A tall bookshelf against a noisy wall, a thick rug, and heavy curtains require zero installation and move with you.
Talk to your landlord about noise issues. They might approve minor improvements like door sweeps if you explain the problem professionally. Many landlords appreciate tenants who improve properties at their own expense.
Maintaining Your Soundproofing Over Time
These solutions don’t require much upkeep, but small maintenance prevents degradation.
Check weatherstripping every six months. It compresses over time and needs replacement every 1-2 years. Cost: $8 every 18 months.
Vacuum acoustic foam panels monthly to prevent dust buildup. Dust-covered foam absorbs less sound.
Inspect door sweeps quarterly. They wear down from friction and stop sealing properly. Replace when you see light under your closed door.
Wash curtains annually. Heavy, dusty fabric loses some sound-absorbing properties.
Total annual maintenance cost: under $20.
Making Your Home Office Work for You
Soundproofing your home office for under $200 isn’t about achieving perfect silence.
It’s about creating enough quiet to do your best work, sound professional on calls, and maintain focus during the workday. The techniques here reduce noise by 40-60%, which transforms a frustrating workspace into a functional one.
Start with the door. Seal every gap. Add mass and absorption where it matters most. Test as you go.
Your home office should support your work, not fight against it. A few hours and less than $200 gets you there without contractors, construction, or complicated installations.
The noise that’s been driving you crazy for months? You can fix most of it this weekend.