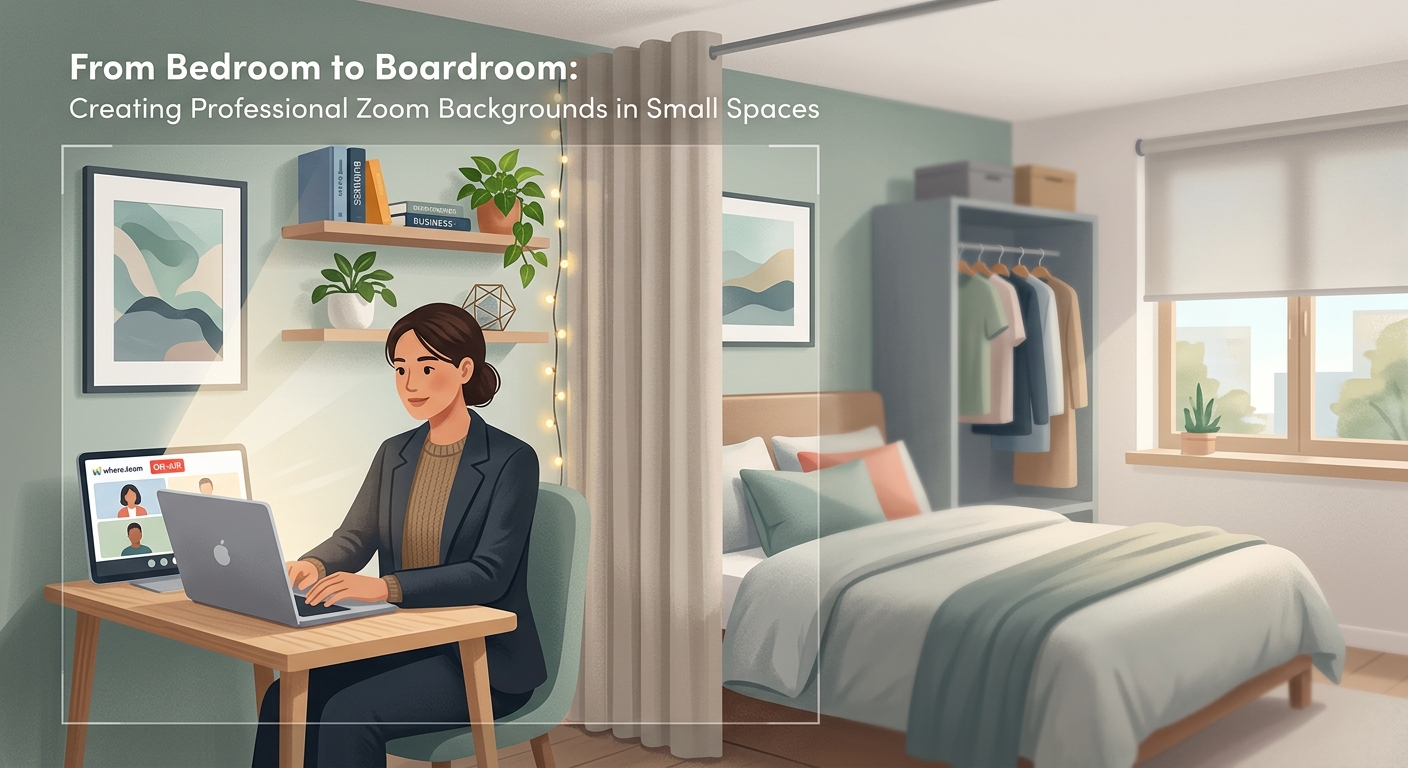
Your apartment bedroom doubles as your office, gym, and dining room. When a client call pops up, you scramble to hide the laundry pile and angle your laptop away from the unmade bed. Sound familiar?
Working from tight quarters doesn’t mean you can’t look professional on camera. Thousands of remote workers create polished video backgrounds in spaces smaller than a parking spot. The secret isn’t square footage. It’s strategy.
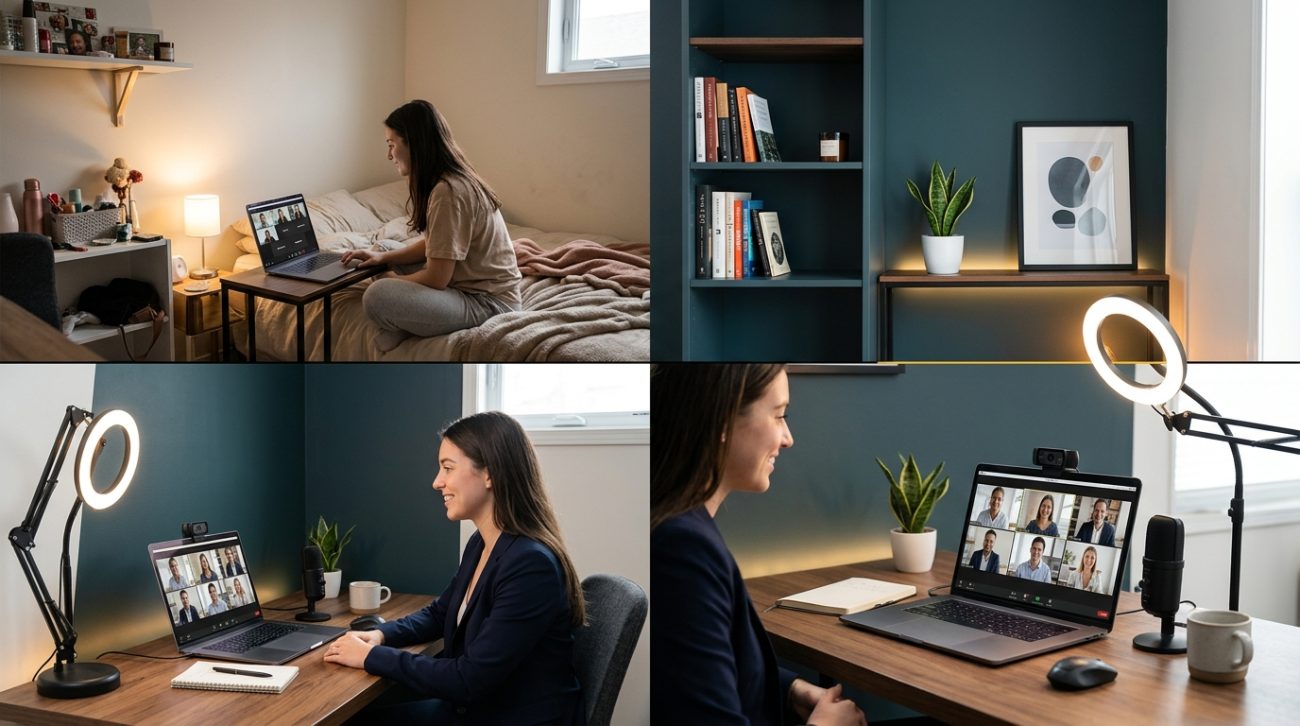
Creating a professional zoom background in a small space requires three elements: strategic camera placement, intentional lighting, and minimal visual clutter. You don’t need a dedicated office. You need a 4×4 foot area, proper framing, and smart use of depth. Most improvements cost under $50 and take less than an hour to implement.
Understanding what makes a background look professional
Professional backgrounds share common traits that have nothing to do with room size.
Clean visual hierarchy matters most. Your face should be the focal point, not the bookshelf behind you. The background should provide context without competing for attention.
Depth creates polish. A flat wall two inches behind your head looks cramped on camera. Even in a tiny room, positioning yourself a few feet from the wall creates visual breathing room.
Lighting transforms everything. A well-lit small space looks better than a poorly lit large one. Natural light from a window beats expensive equipment every time.
Color harmony keeps viewers focused. Neutral walls work best. If your bedroom has bright purple walls, a simple fabric backdrop solves the problem for $15.
Setting up your small space for video success
Start by identifying your best filming location.
Walk around your space during different times of day. Notice where natural light falls. Morning light near an east-facing window creates soft, flattering illumination. Afternoon light from the south provides consistent brightness.
Measure your potential background area. You only need 4 to 5 feet of width behind you. That’s narrower than most closets.
Position your camera at eye level or slightly above. Laptop cameras placed on a desk force viewers to look up your nose. A $12 laptop stand fixes this instantly.
The three-step camera placement method
- Sit where you plan to take calls
- Extend your arm straight ahead and make a fist
- Place your camera at that distance from your face
This creates proper framing without cutting off your head or showing too much empty space above you.
Test your frame before your next meeting. Sit in position and open your camera app. Your eyes should land in the top third of the frame. Your shoulders should be visible. Nothing above your head should exceed 2 to 3 inches of space.
Angle matters as much as distance. Position your camera straight ahead, not off to the side. Side angles make you appear distracted, like you’re talking to someone else in the room.
Controlling what appears behind you
Your background tells a story. Make sure it’s the right one.
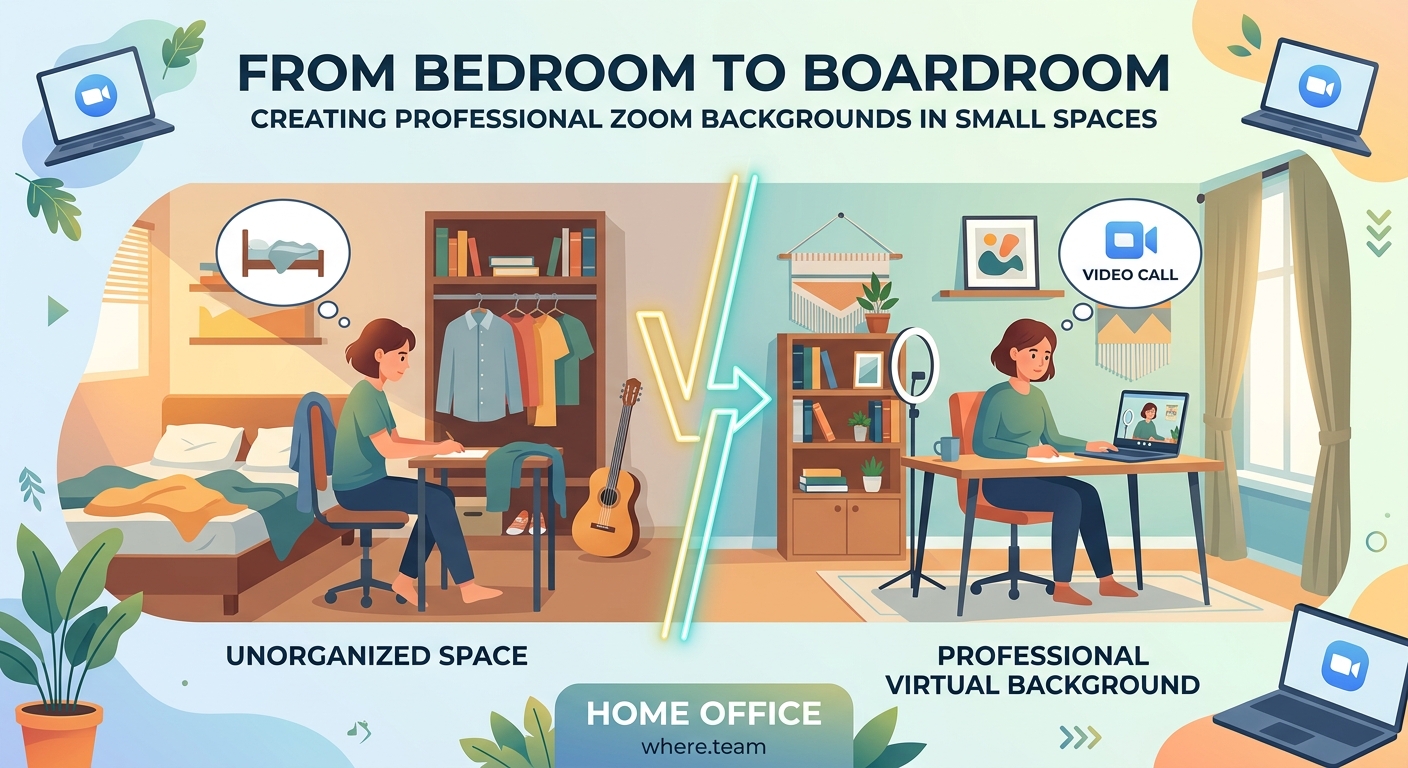
Remove visual distractions first. Laundry, unmade beds, and kitchen messes pull focus. If you can’t move items, position your camera to exclude them from the frame.
Create a dedicated background zone. Even in a bedroom, you can designate one corner for video calls. A small bookshelf, a plant, and a simple lamp create a professional look in 3 square feet.
Background elements that work in tight spaces
- A single tall plant in the corner
- Three to five books arranged vertically
- One piece of simple wall art
- A small table lamp with warm light
- Floating shelves with minimal objects
Avoid these common mistakes:
| Mistake | Why it fails | Better alternative |
|---|---|---|
| Sitting directly against a wall | Creates a flat, cramped appearance | Sit 3 to 4 feet from the wall |
| Busy patterned wallpaper or art | Distracts from your face | Use solid colors or simple textures |
| Open closet doors in frame | Looks messy and unintentional | Close doors or reposition camera |
| Multiple light sources behind you | Creates silhouette effect | Keep lights in front or to the side |
| Ceiling fan or fixture centered above head | Appears to grow from your head | Shift position left or right |
Lighting your small space without professional equipment
Good lighting makes a bigger difference than an expensive camera.
Window light works best when it comes from the side or front. Sitting with a window behind you turns you into a dark silhouette. Position yourself facing the window or at a 45-degree angle to it.
Overcast days provide the most flattering natural light. Bright sunny days create harsh shadows. If you’re filming on a sunny day, hang a white sheet over the window to diffuse the light.
Budget lighting solutions that actually work
A $15 clip-on desk lamp pointed at a white wall creates beautiful bounce light. The wall reflects soft, even illumination onto your face. This technique works better than pointing a lamp directly at yourself.
Ring lights get a lot of attention, but they’re not necessary. A simple LED bulb in a desk lamp does the same job. Position it slightly above eye level and to one side of your camera.
Avoid overhead lighting alone. Ceiling lights create shadows under your eyes and nose. They make you look tired. Add a secondary light source at face level.
The best lighting setup for small spaces uses three affordable elements:
- Natural window light from the front or side
- One desk lamp with a daylight LED bulb
- A white wall or poster board for bounce light
This combination costs under $30 and works in rooms as small as 80 square feet.
“The difference between amateur and professional video presence isn’t equipment cost. It’s understanding how light, distance, and framing work together. I’ve seen people in closet-sized rooms look better on camera than executives in corner offices because they paid attention to these basics.” – Video production consultant
Managing space constraints during calls
Small spaces require creative solutions for common problems.
Sound management matters in tight quarters. Hard surfaces like walls and floors bounce sound around, creating echo. A thick blanket draped over a chair behind your camera absorbs sound waves. Area rugs help too.
If your desk faces a wall and you can’t rearrange furniture, mount your monitor on an arm. This lets you pull the screen forward and position your camera properly while keeping your desk against the wall.
Roommates and family members create background noise. Noise-canceling features in modern video platforms help, but prevention works better. A small “recording” sign on your door prevents interruptions. Scheduling calls when others are out eliminates the problem entirely.
Creating separation in studio apartments
Studio apartments present unique challenges. Your bedroom, office, and living room occupy the same space.
Room dividers create instant backgrounds. A folding screen costs $40 and provides a clean backdrop while hiding the rest of your space. Tall bookshelves serve the same purpose.
Curtain rods mounted to the ceiling with fabric panels create flexible walls. You can open them when you need space and close them for calls. This solution costs about $25 and takes 30 minutes to install.
Using virtual backgrounds strategically
Virtual backgrounds get mixed reviews, but they work well in specific situations.
Green screens require good lighting and several feet of space. Skip them if you’re working in a small bedroom. They’re not worth the hassle.
Blur features work better in tight spaces. Most video platforms offer background blur without special equipment. This softens whatever’s behind you without the artificial look of a fake office.
Custom virtual backgrounds should match your industry. A software developer can use a modern, minimal design. A therapist should stick with neutral, calming images. A teacher might use a simple bookshelf image.
The problem with virtual backgrounds is movement. Lean too far to one side and your shoulder disappears. Gesticulate with your hands and they become transparent. If you use them, sit still and keep your movements small.
Real backgrounds always look better than fake ones when you have the space to set them up properly. A well-arranged corner beats a stock image of a fancy office every time.
Building a mobile setup for flexibility
Flexibility matters when you’re working from a small space that serves multiple purposes.
A folding lap desk lets you work from different spots throughout the day. Take calls from the corner with good light in the morning. Move to the desk for focused work in the afternoon.
Portable lighting travels with you. Battery-powered LED panels cost around $25 and provide professional lighting anywhere in your space. Charge them overnight and use them for calls the next day.
Keep your background elements portable too. A small plant on a rolling cart moves easily. A folding room divider stores flat against a wall when not in use.
The minimalist video call kit
Everything you need fits in a small box:
- Laptop stand or small box to raise your camera
- Clip-on LED light or small desk lamp
- Simple backdrop fabric or poster board
- Extension cord for flexible positioning
- Wireless headphones for better audio
This kit costs under $60 total and transforms any corner of your space into a professional video setup in under five minutes.
Store it in a drawer or under your bed. Pull it out when you have calls. Put it away when you’re done. No permanent setup required.
Solving common small space problems
Every small space presents unique challenges. Here’s how to handle the most common ones.
Limited outlets: Power strips with long cords let you position lights and equipment away from walls. Battery-powered options eliminate cord clutter entirely.
Slanted ceilings or odd angles: Use these to your advantage. A slanted ceiling creates visual interest without looking messy. Position yourself so the slope appears in the background, not directly above your head.
No neutral walls: Hang a large piece of fabric, a bedsheet, or poster board behind your camera position. White, gray, or beige work best. This creates a clean backdrop for under $10.
Shared spaces: Establish a calling schedule with roommates. Use the space during specific hours. This prevents conflicts and ensures you have access when needed.
Constant mess: Accept that small spaces get messy. Create one clean zone for video calls. Let the rest of your space be lived-in. You’re only filming 4 feet of wall space.
Making technical adjustments that matter
Your camera settings affect how your background appears.
Most video platforms let you adjust brightness, contrast, and saturation. Reducing saturation slightly makes busy backgrounds less distracting. Increasing brightness compensates for dim lighting.
Frame rate doesn’t matter much for standard calls. Save bandwidth by using lower quality settings if your internet connection struggles. A stable connection beats high definition every time.
Camera angle changes how your background appears. Tilting your laptop screen back slightly can hide clutter on a desk behind you. Angling it forward might reveal more of your room than intended. Test different positions before calls.
If you’re using the best video conferencing cameras for remote teams in 2024, you’ll have more control over these settings than with a basic laptop camera.
Maintaining your setup over time
A professional background requires minimal maintenance.
Dust your background area weekly. A clean space looks more professional than a dusty one. This takes two minutes with a microfiber cloth.
Check your camera position before important calls. Roommates might bump your desk. Kids might move your lamp. A 30-second check prevents surprises.
Update your background seasonally. Swap the plant for a different one. Change the books on your shelf. Small updates keep your space looking fresh without requiring major changes.
If you’re struggling with call fatigue beyond just background issues, understanding how to fix zoom fatigue can help improve your overall video call experience.
When to consider alternatives to home setups
Sometimes your space genuinely doesn’t work for professional calls.
Coworking spaces offer professional environments by the hour. Day passes typically cost $15 to $30 and include reliable internet, good lighting, and professional backgrounds. For important client calls or presentations, this investment makes sense.
Choosing between day passes and monthly memberships depends on how often you need a professional space outside your home.
Coffee shops work for casual calls but rarely provide the quiet and lighting you need for important meetings. The $5 latte doesn’t buy you a professional environment.
Libraries offer free, quiet spaces with decent lighting. Many have private study rooms you can reserve. Call ahead to check their video call policies.
Your space works better than you think
That cramped bedroom or tiny apartment corner can absolutely work for professional video calls.
The difference between looking amateur and polished comes down to three things: where you position your camera, how you light your face, and what appears in the 4 feet behind you. Room size doesn’t make the list.
Start with one improvement today. Move your laptop back a few feet. Add a desk lamp. Clear the clutter from one corner. Small changes create immediate results.
Your professional presence doesn’t require a home office renovation. It requires 15 minutes of setup and attention to basics that work in any space, no matter how small.